
Refresh and Revitalize: The Ultimate Guide to Interior Painting In Minotola, NJ
7&7 Contractor LLC - Appointment Request Form
Thank you for your interest in 7&7 Contractor LLC. Please fill out the form below to request an appointment for our services. We will get back to you as soon as possible to confirm the details.
(We will do our best to accommodate your preferred date and time)
Appoinments Request Form
Top Quolity Services.
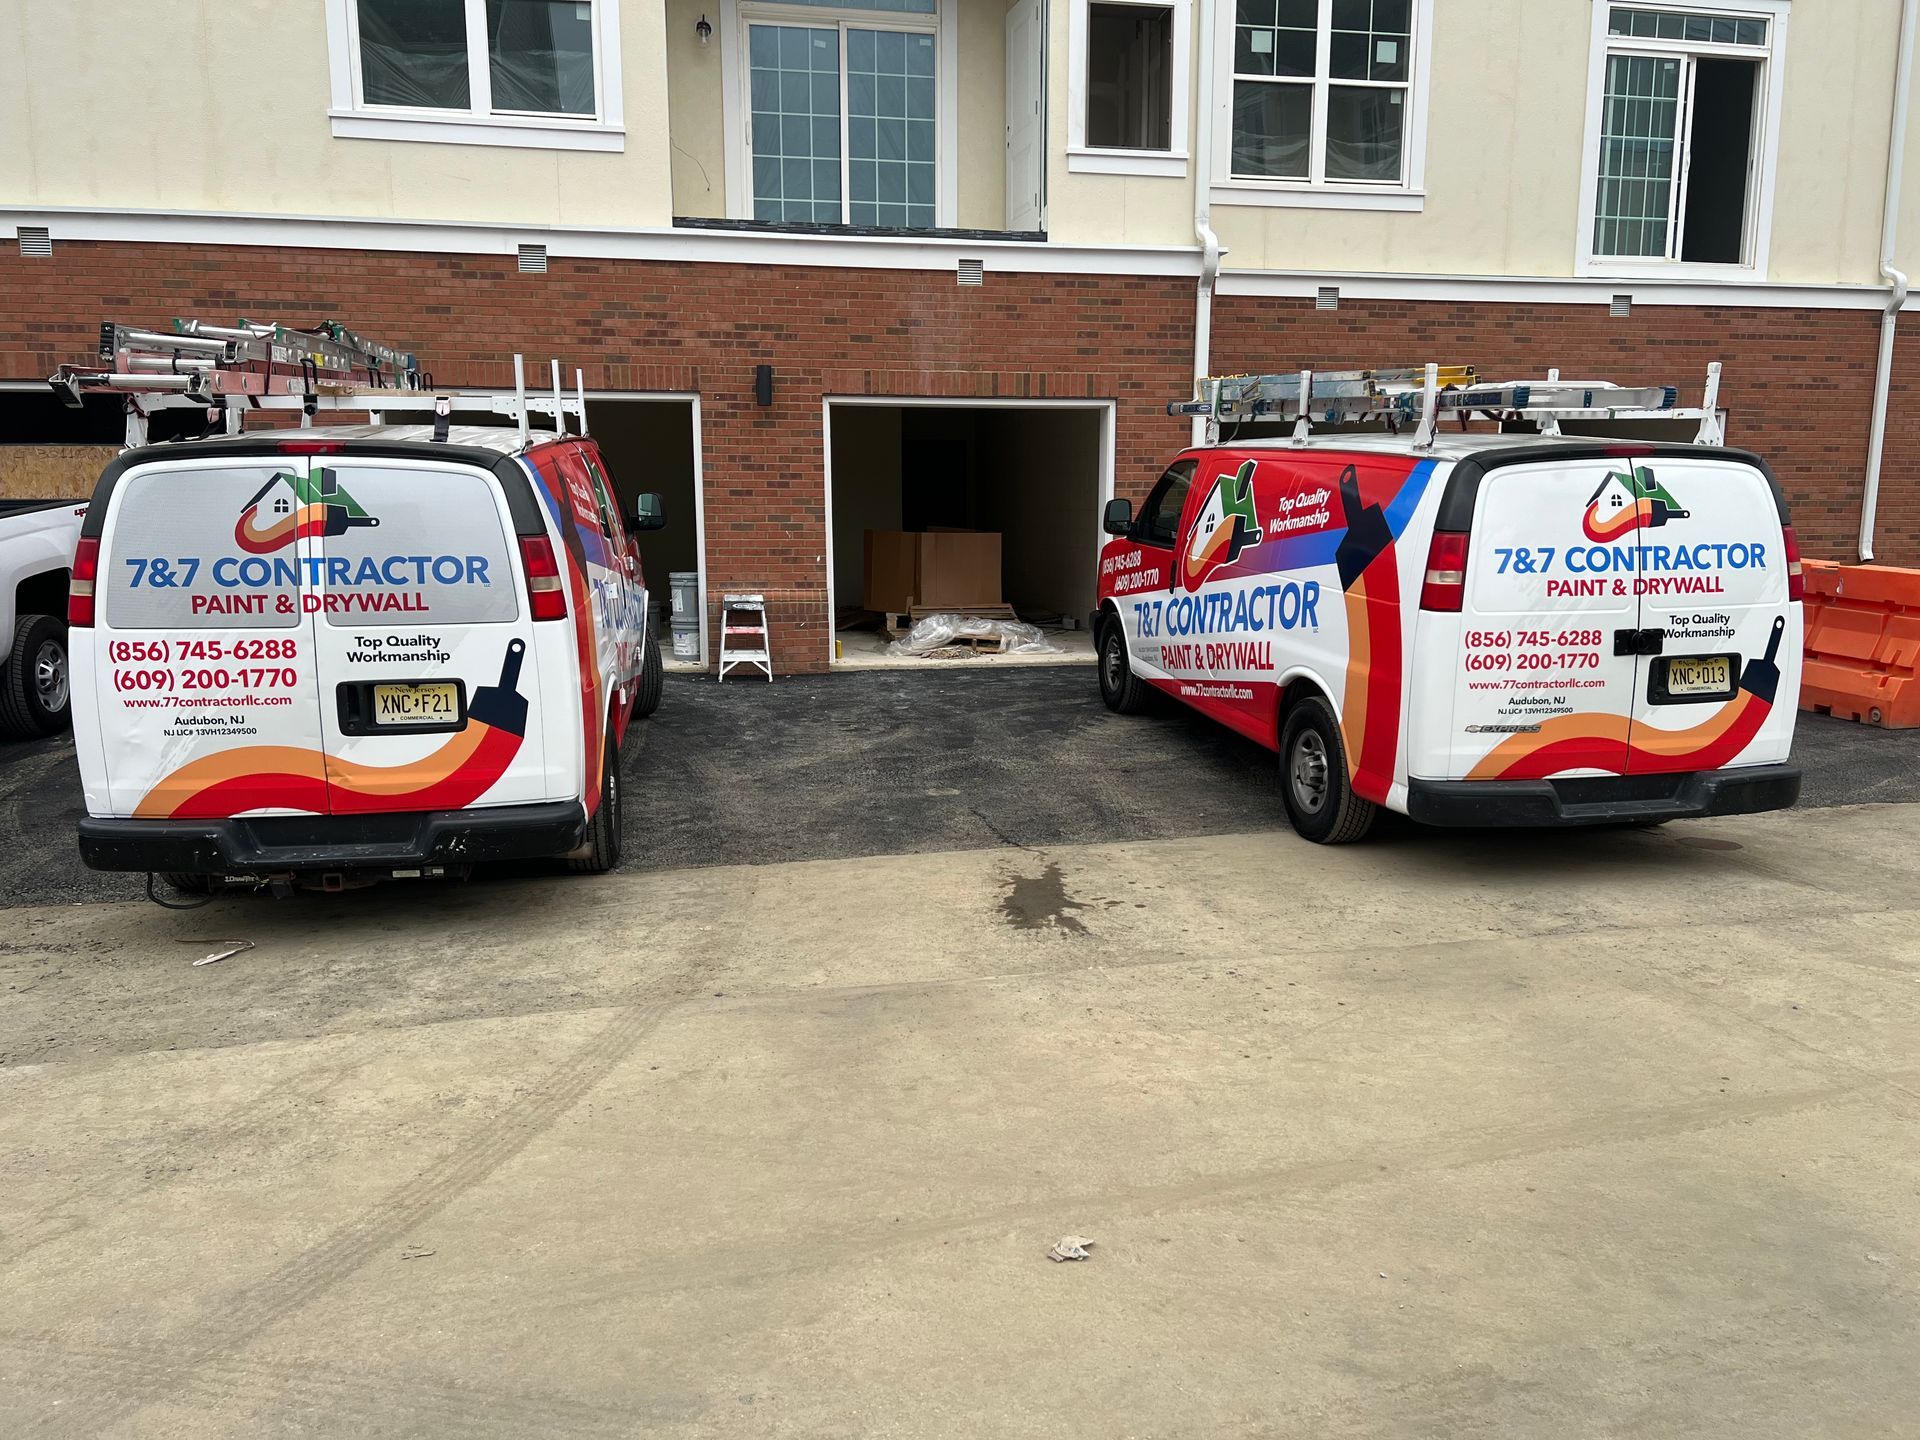
7&7 Contractor LLC
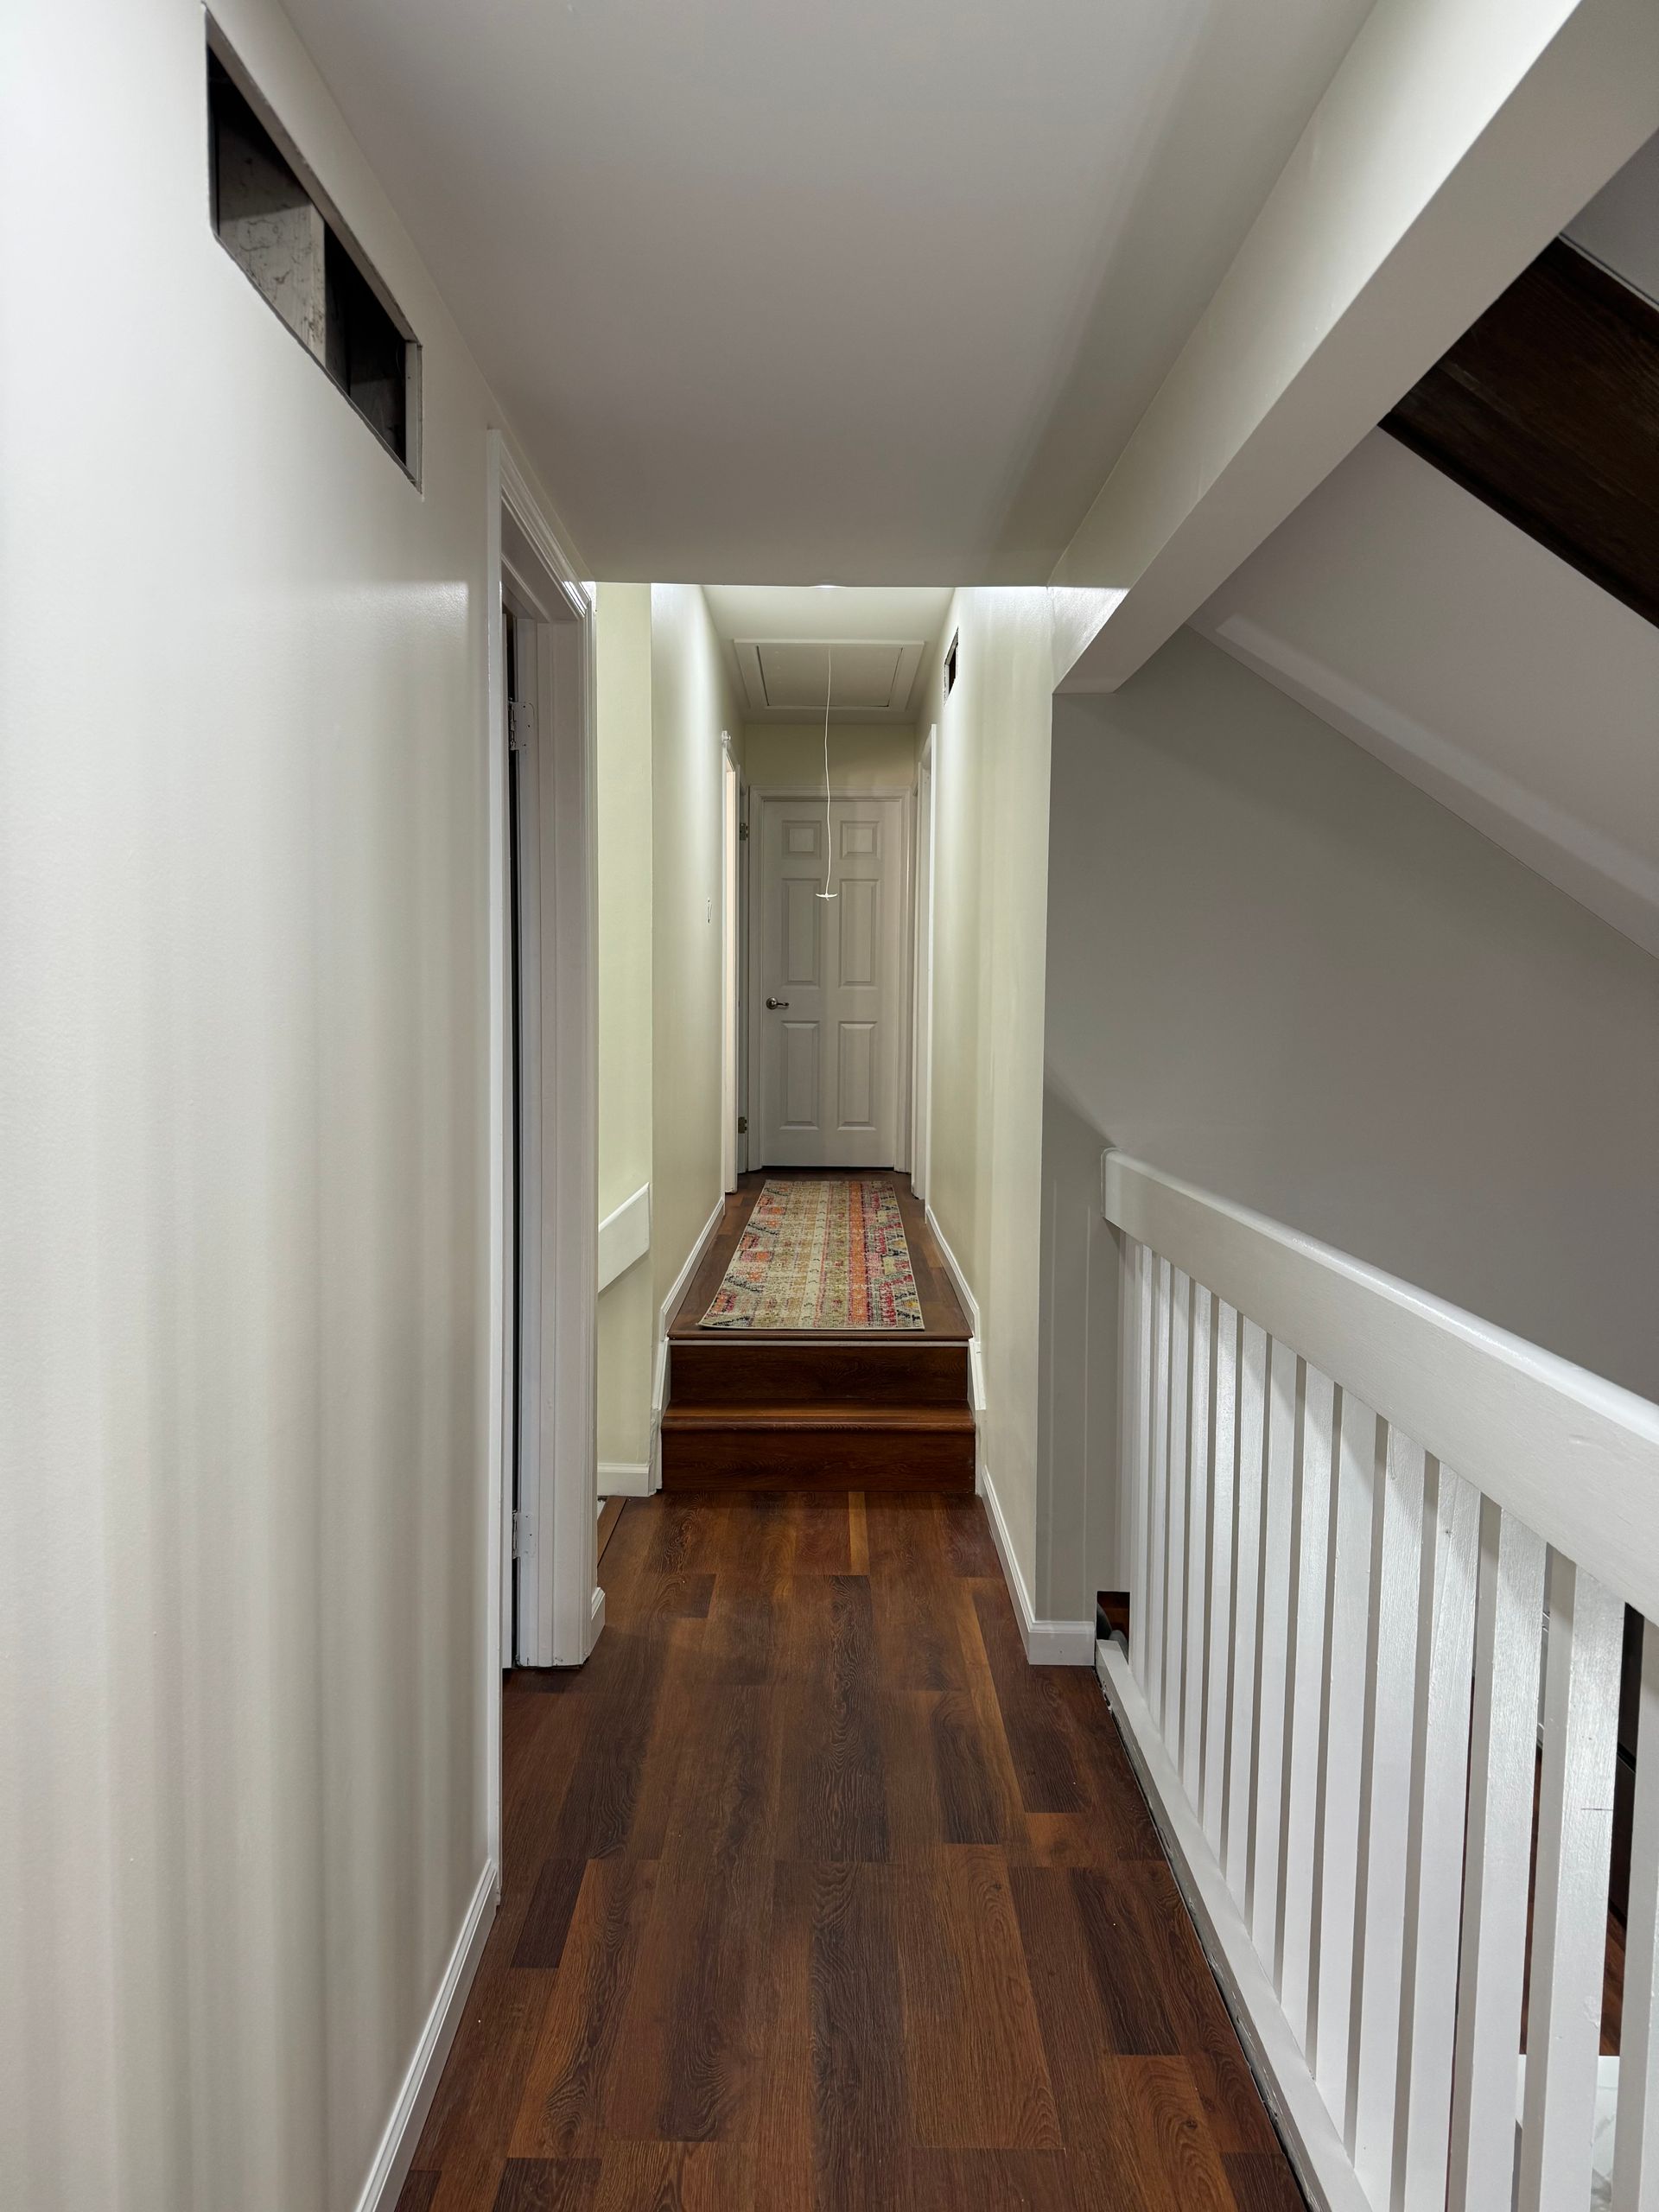
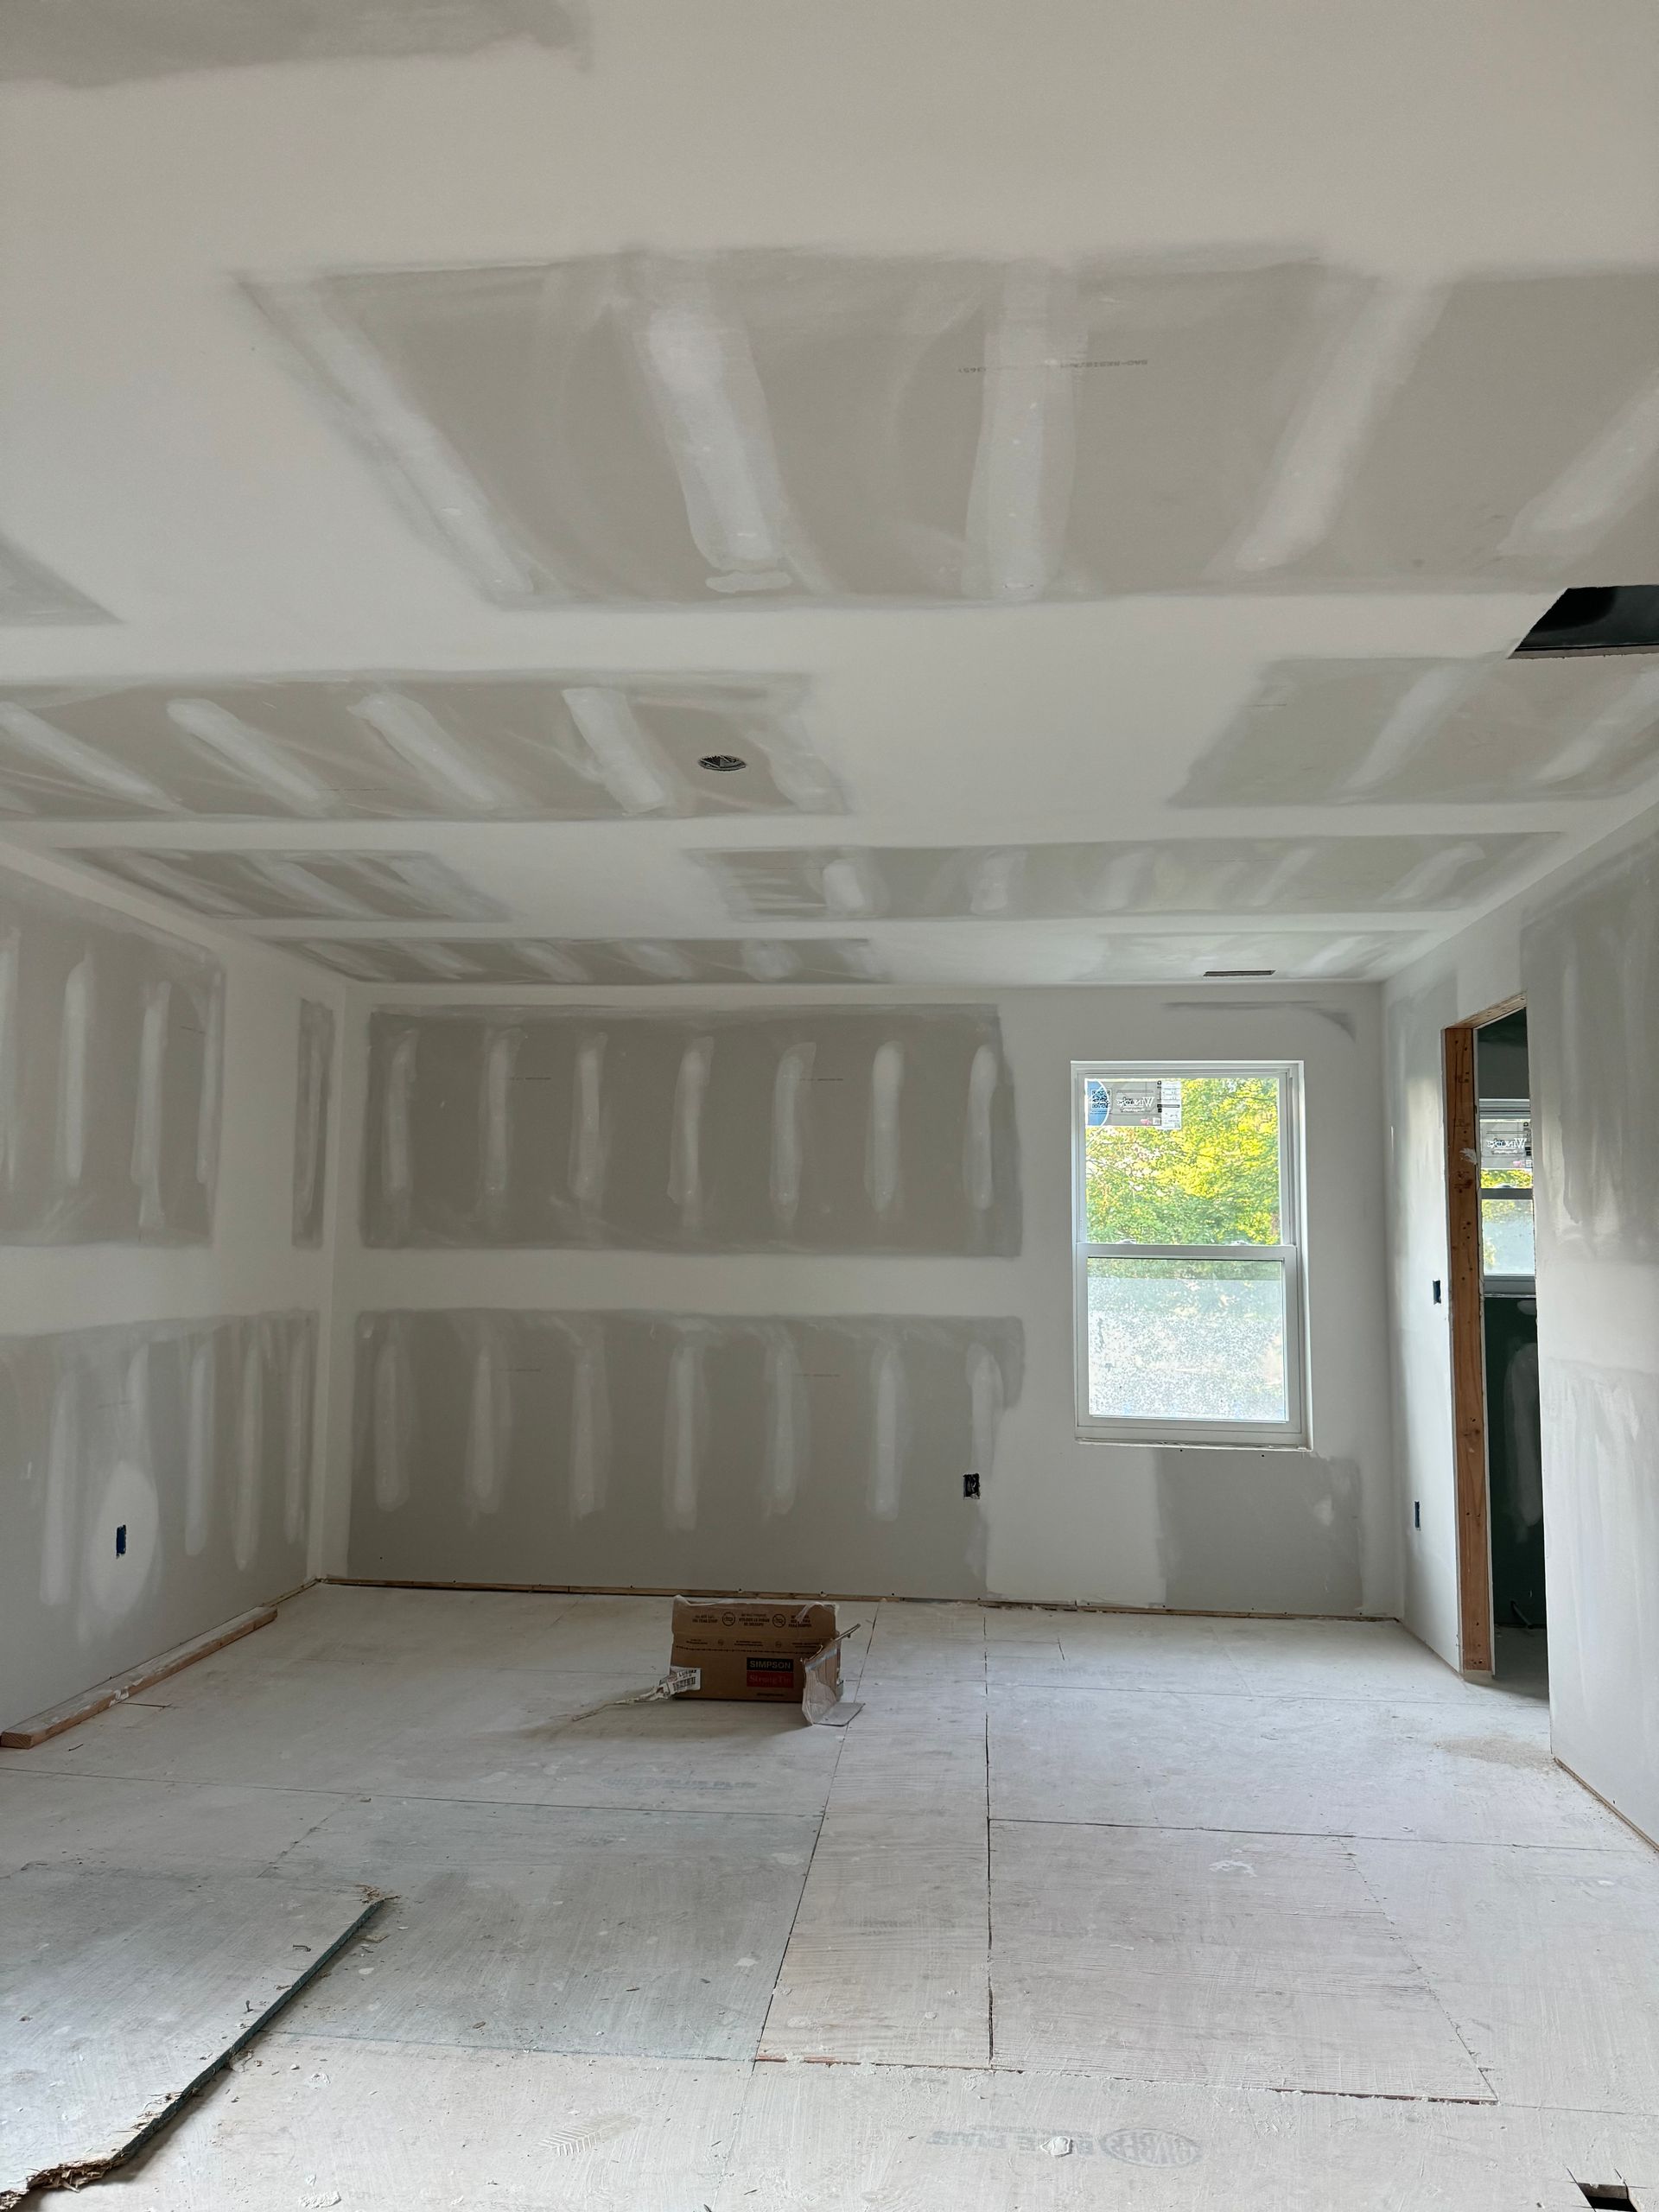
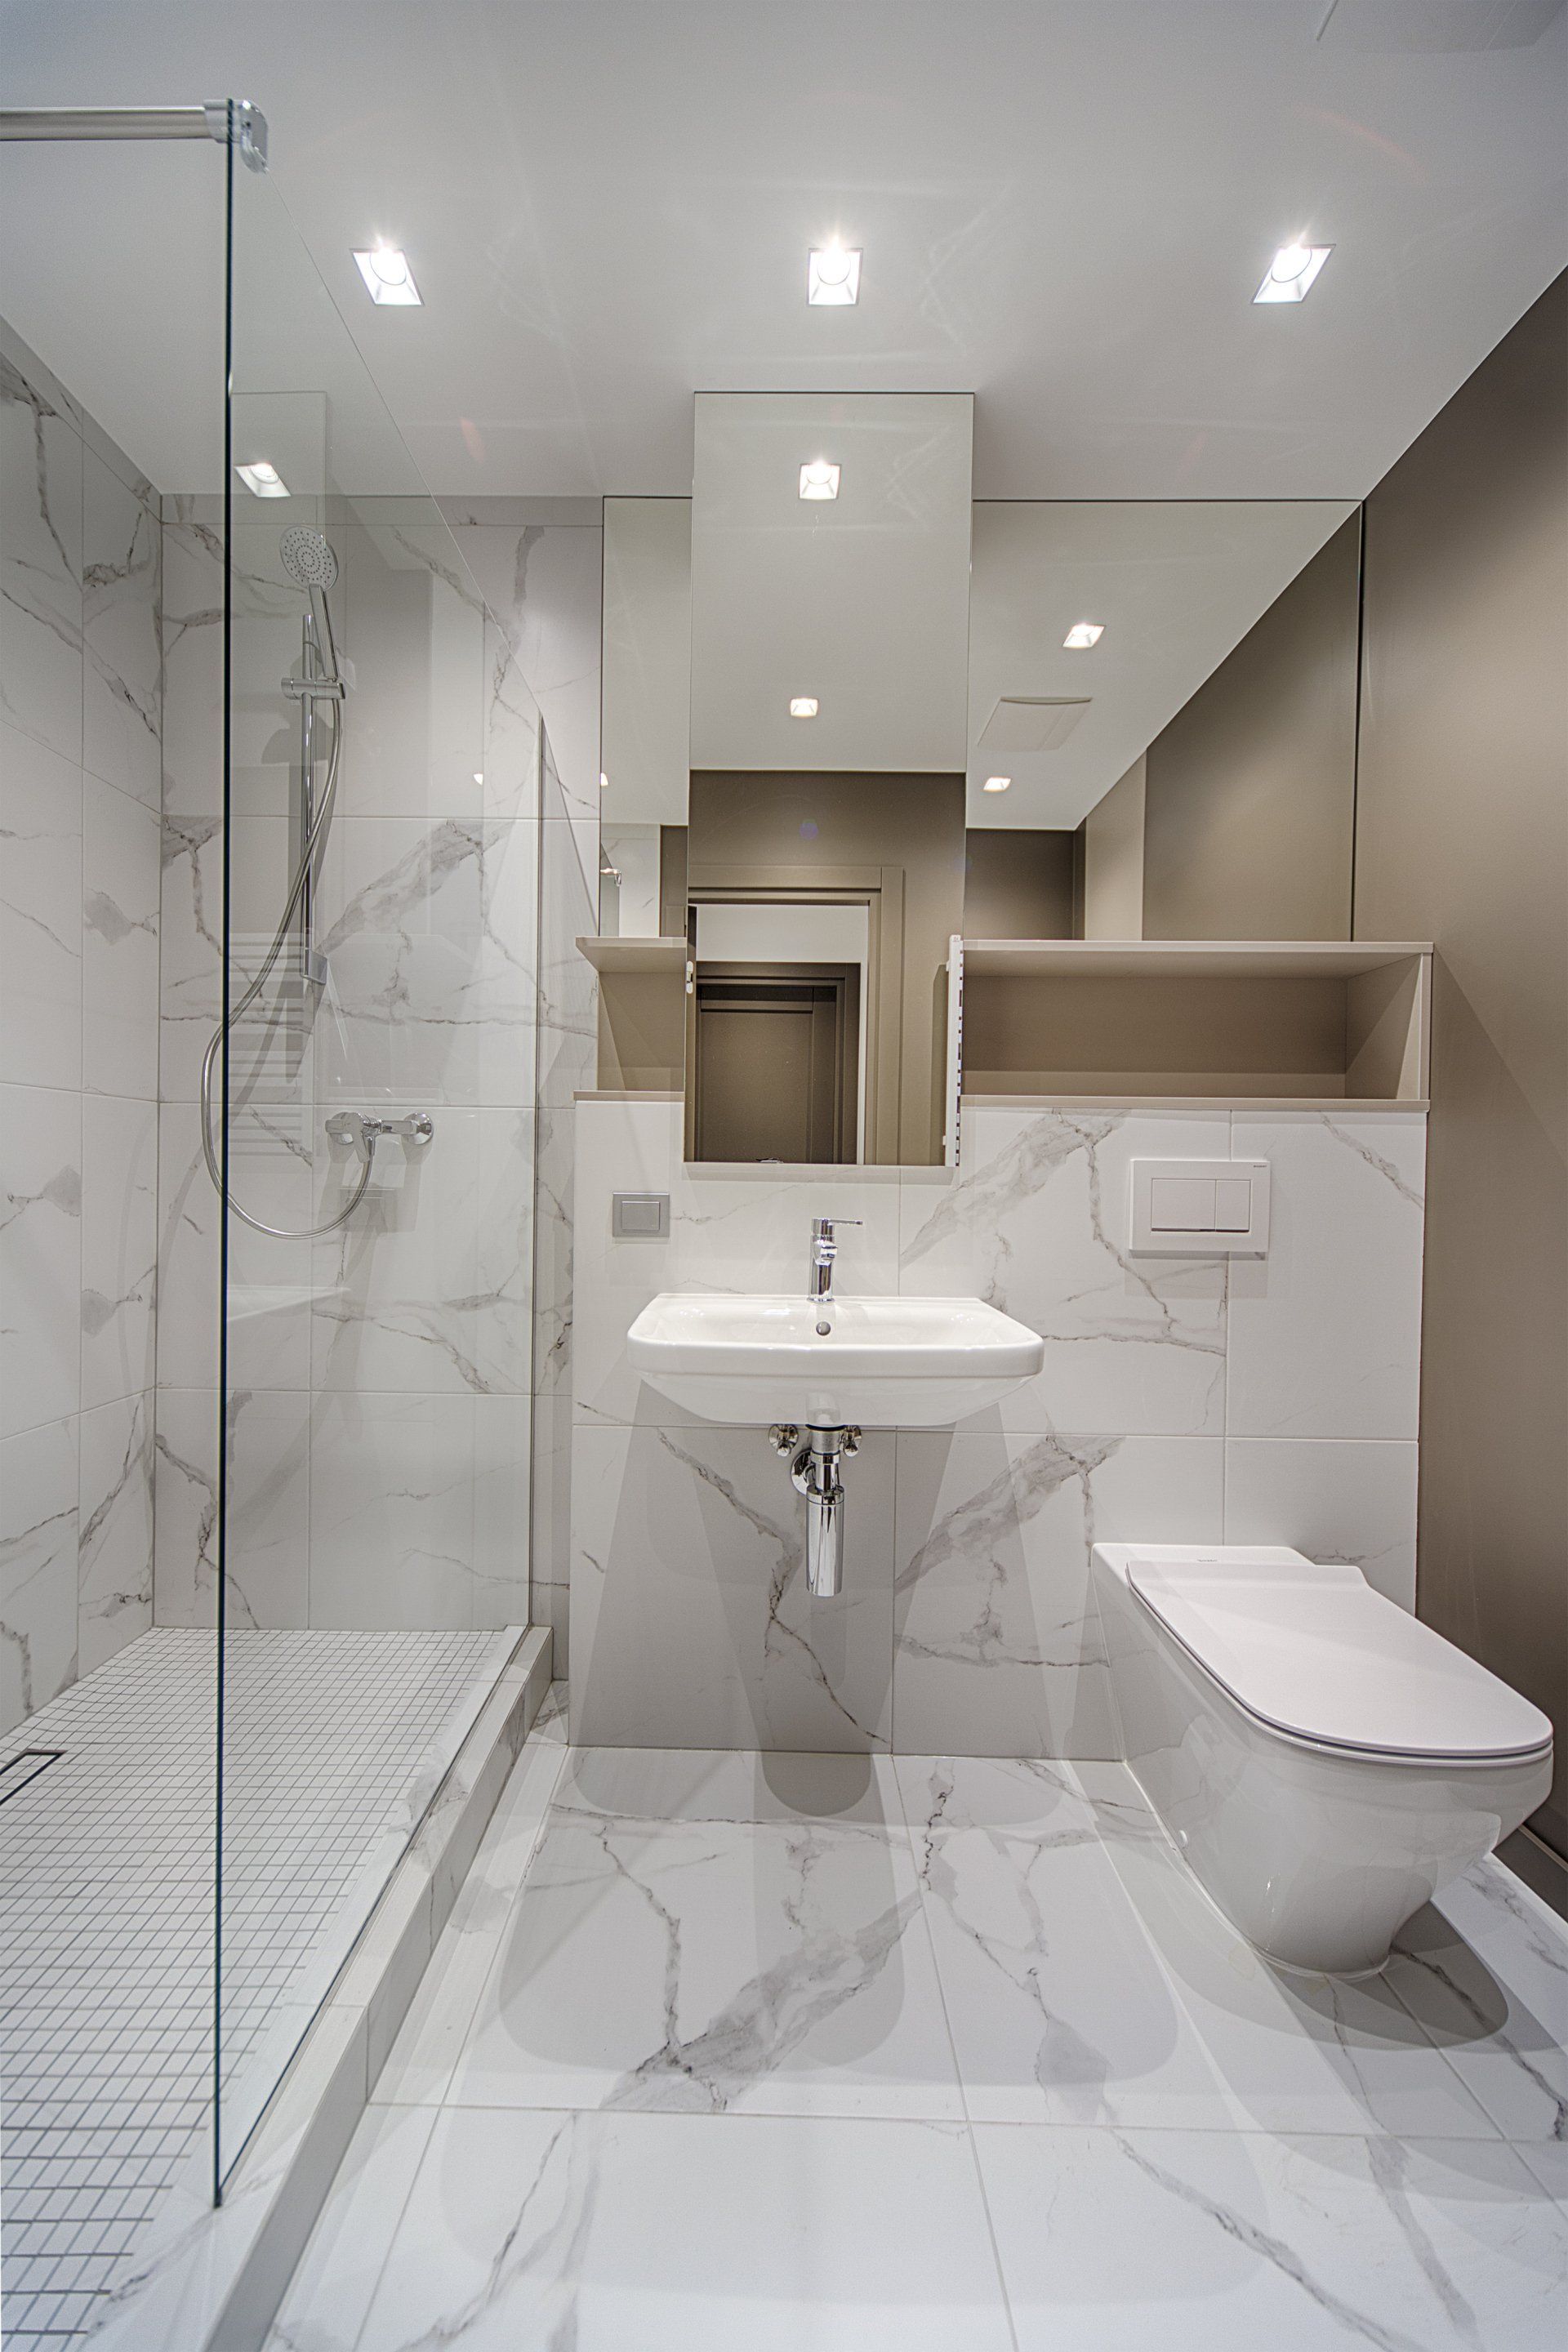
Interior Painting.
Ready to take that big step into the future?
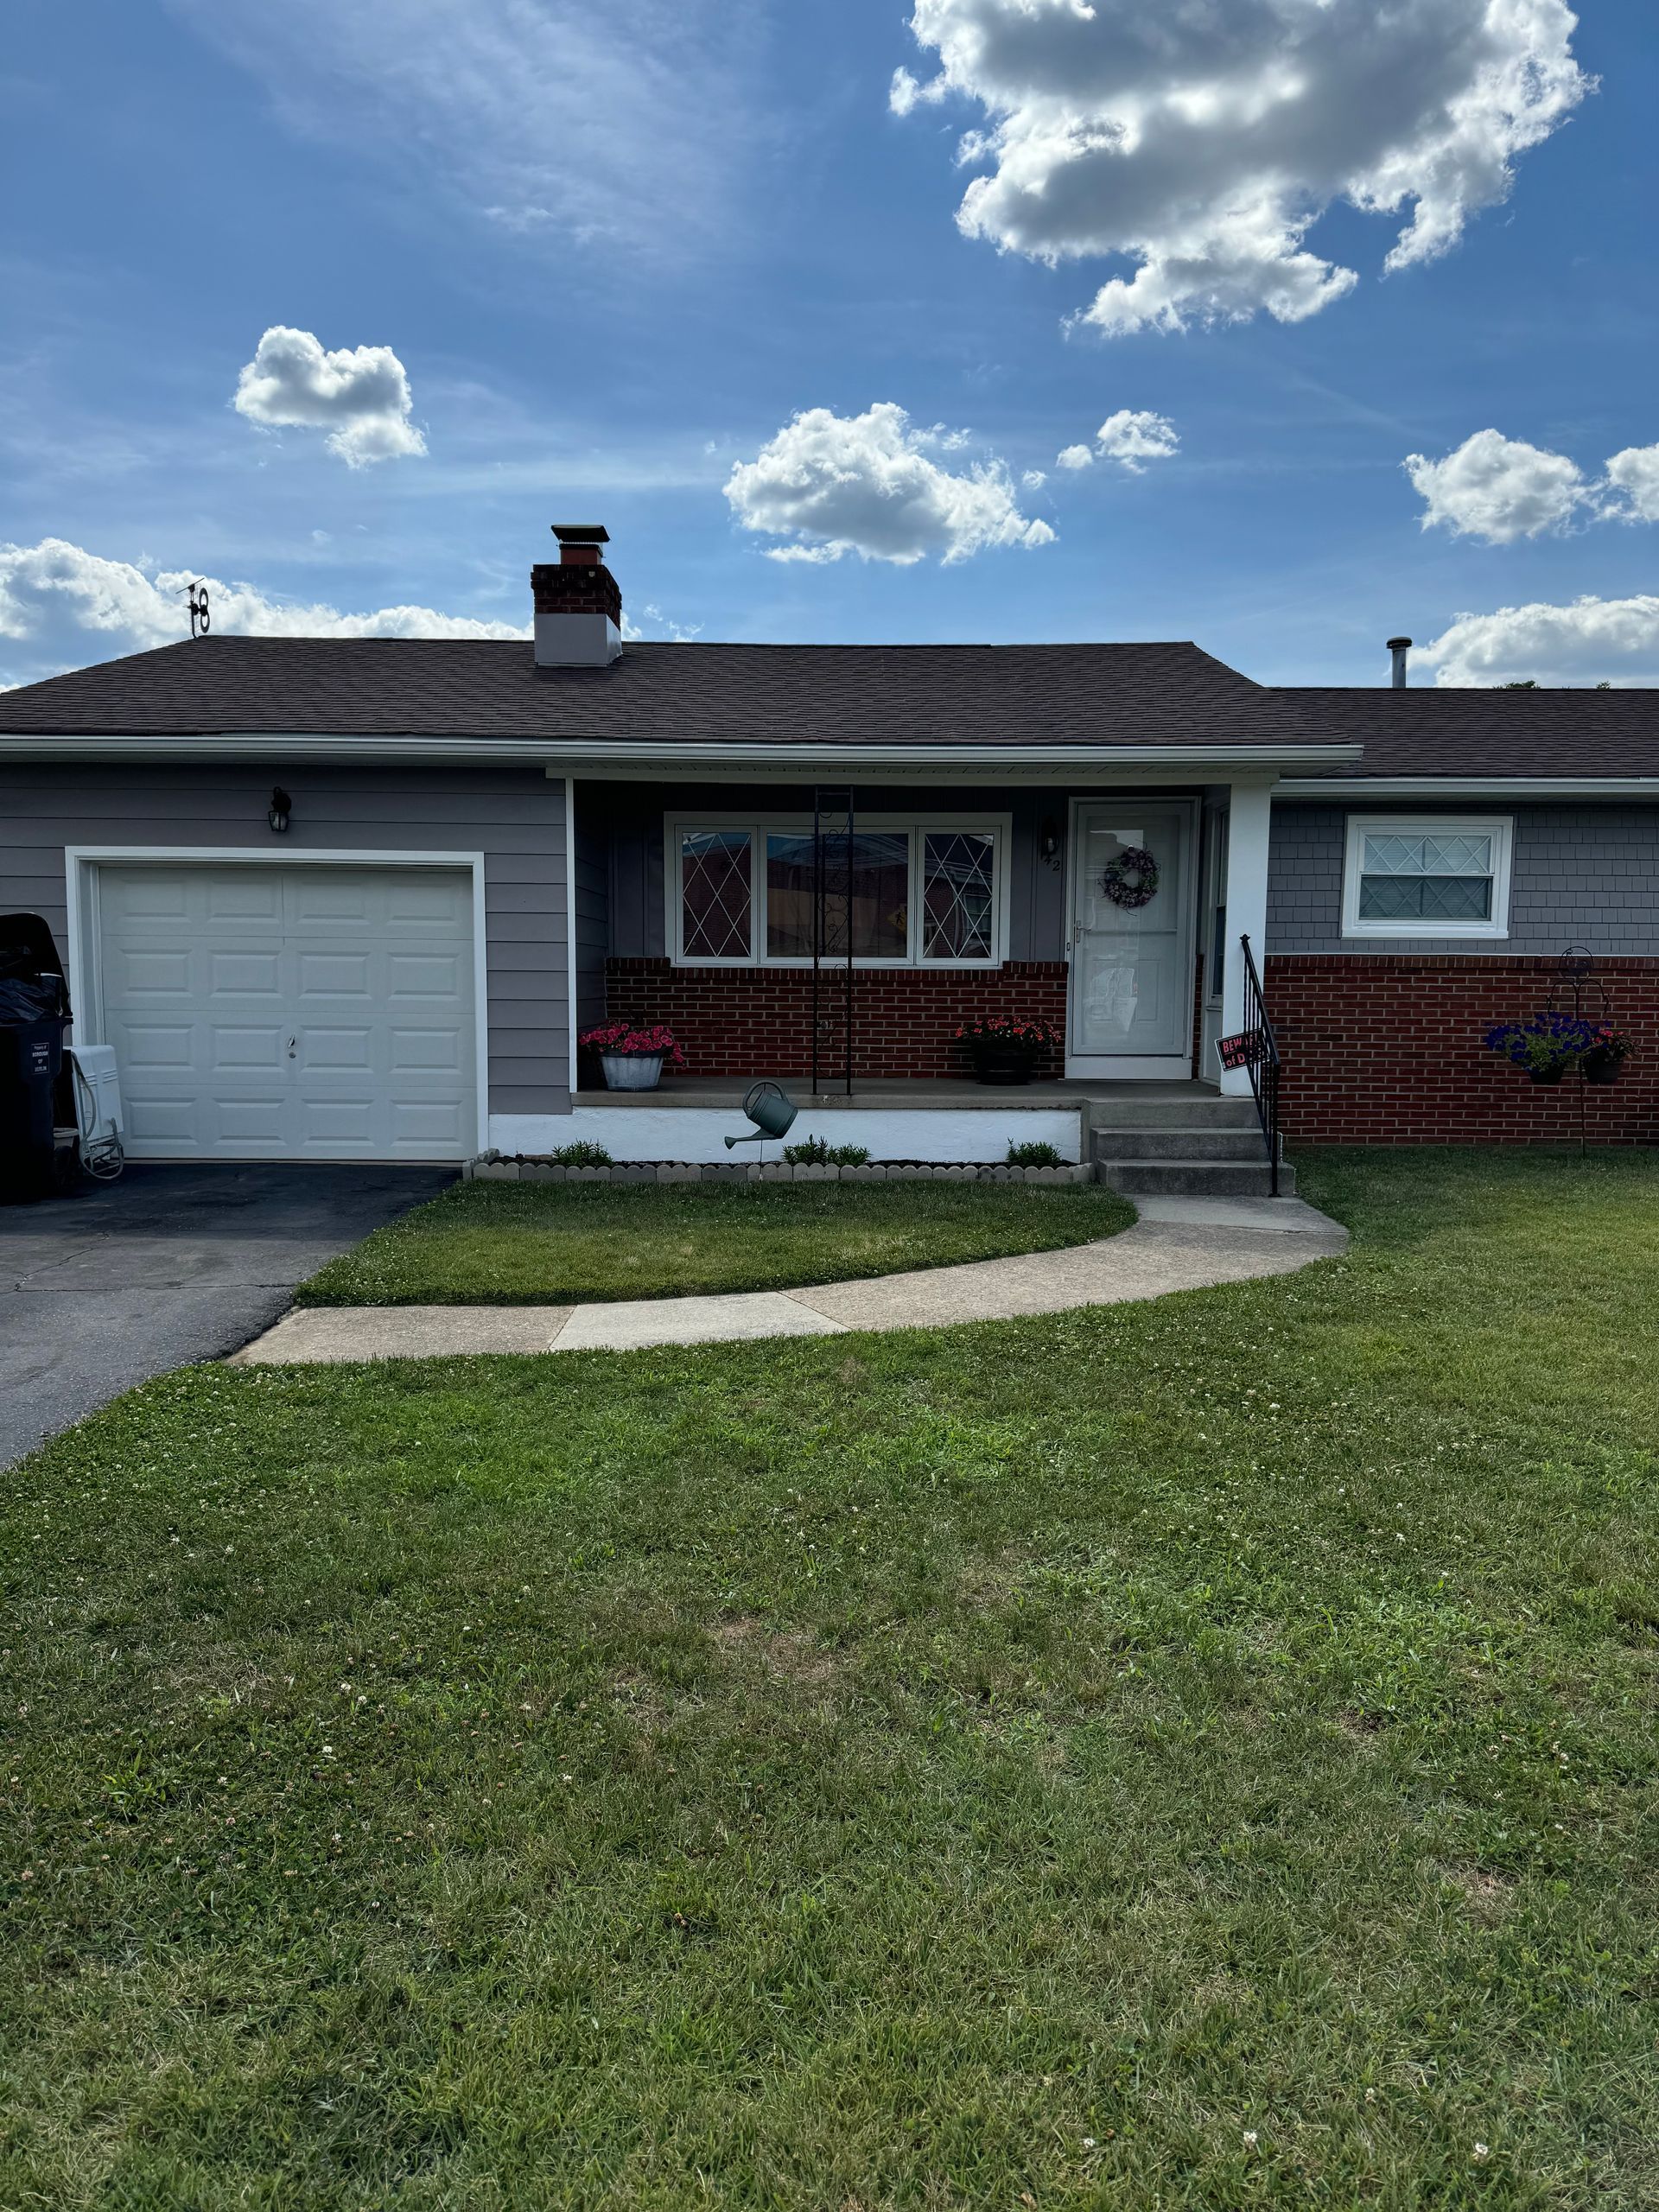
Exterior Painting
Request more information?
Commercial Painting
7&7 Contractor ll, offers you very high quality commercial services.

Deck fence & Staining
Top quoliy workmanship in all this services.

Conclusion: Enjoying the transformed look of your space
Congratulations! By following the steps outlined in this comprehensive guide, you've successfully refreshed and revitalized your living spaces with a stunning new interior paint job. From selecting the perfect colors and finishes to mastering the painting techniques, you've transformed your home into a vibrant and inviting oasis that reflects your personal style and preferences.
The benefits of this interior painting project extend far beyond just the aesthetic. By investing in this DIY endeavor, you've not only enhanced the visual appeal of your spaces but also potentially increased the value of your property. Moreover, the sense of accomplishment and pride that comes with completing a successful painting project can be truly rewarding.
As you step back and admire your newly painted rooms, take a moment to appreciate the transformative power of a fresh coat of paint. Whether you opted for serene neutrals, bold accent walls, or a harmonious color palette, your revitalized spaces are sure to inspire and delight. Embrace the rejuvenated ambiance, and enjoy the newfound joy and comfort that your updated interior painting project has brought to your home.
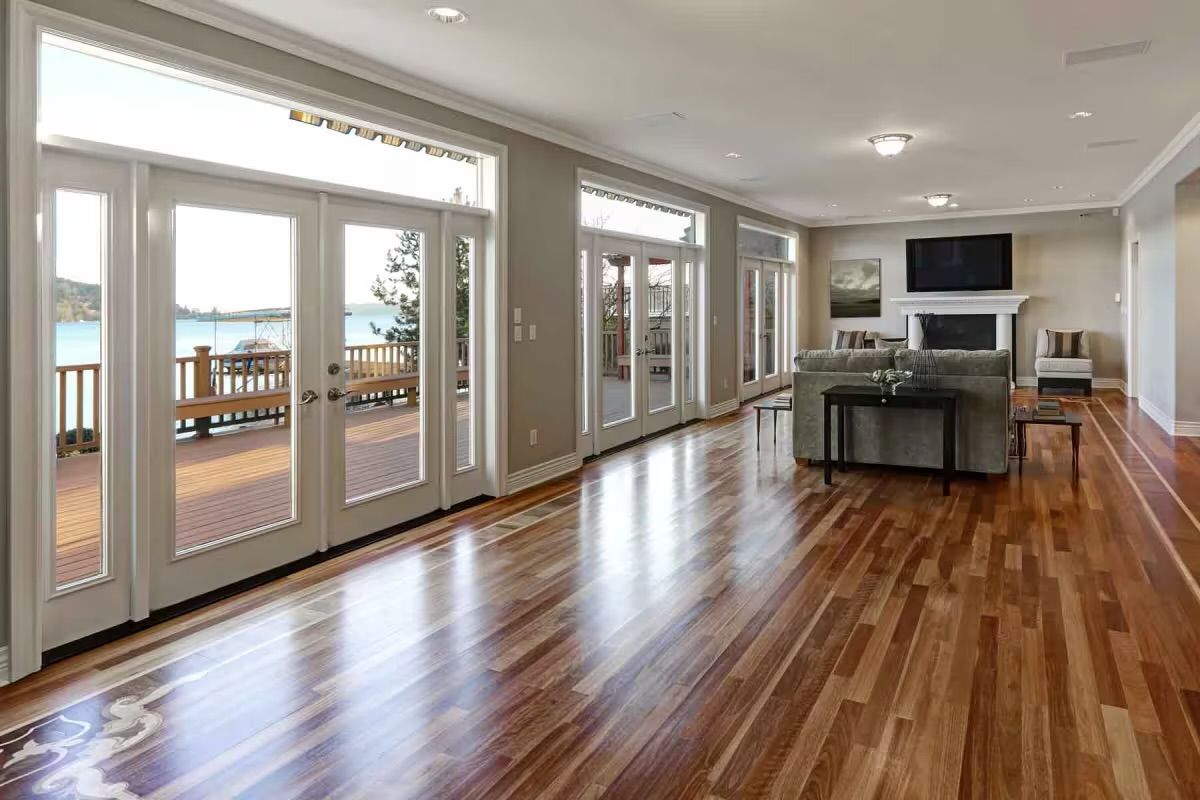
Are you looking to give your home a fresh new look? Say goodbye to dull walls and hello to a vibrant and inviting space with the ultimate guide to interior painting. In this comprehensive article, we will walk you through everything you need to know to refresh and revitalize your living spaces.
Incorporating popular trends and timeless techniques, we'll show you how to select the perfect color palette for each room, from serene blues to bold statement shades. Discover tips and tricks for the prep work, including patching holes, priming surfaces, and protecting your furniture and floors.
Our step-by-step instructions will guide you through the painting process, ensuring a professional finish and avoiding common pitfalls. From brush choice to roller techniques, we'll help you achieve smooth, streak-free walls every time.
Whether you're a seasoned DIY enthusiast or a first-time painter, this ultimate guide to interior painting has got you covered. Get ready to transform your home, one brush stroke at a time.
Benefits of refreshing and revitalizing your space with interior painting
Refreshing and revitalizing your living spaces through interior painting can have a transformative effect on your home. One of the primary benefits is the ability to breathe new life into a room and create a sense of rejuvenation. A fresh coat of paint can instantly uplift the ambiance, making your spaces feel brighter, more inviting, and better suited to your personal style.
Moreover, interior painting can be a cost-effective way to enhance the overall aesthetic of your home without the need for major renovations. By simply updating the colors and finishes, you can dramatically improve the look and feel of a room, creating a cohesive and visually appealing environment. This can be particularly advantageous for homeowners who are looking to increase the value of their property or prepare it for sale.
Another significant benefit of interior painting is the opportunity to personalize your living spaces. With a wide range of paint colors, finishes, and techniques available, you can tailor the look and mood of each room to suit your unique preferences and lifestyle. Whether you're drawn to soothing neutrals, vibrant accents, or a harmonious color palette, the right paint choices can help you craft a space that truly reflects your individual style and personality.
Choosing the right paint colors and finishes
Selecting the right paint colors and finishes is a crucial step in the interior painting process. The colors you choose can have a profound impact on the overall ambiance and mood of a room, so it's essential to carefully consider your options.
When it comes to color selection, it's important to take into account the existing elements in the room, such as the furniture, flooring, and lighting. These factors can influence how the paint colors will appear and interact with the space. Additionally, consider the intended use of the room and the desired atmosphere you want to create. For example, a serene and calming bedroom may benefit from soft, muted tones, while a vibrant and energetic living room could showcase bolder, more vibrant hues.
In addition to color, the paint finish you choose can also have a significant impact on the overall aesthetic. Matte or flat finishes can create a soft, velvety look and feel, while glossy or semi-gloss finishes can add a touch of elegance and shine. Eggshell finishes offer a middle ground, providing a subtle sheen that can be easy to maintain. When selecting a finish, consider factors such as the room's lighting, the desired level of sheen, and the level of wear and tear the surface will experience.
Preparing your space for painting
Proper preparation is the key to a successful interior painting project. Taking the time to thoroughly prepare your space can ensure a smooth and professional-looking finish, while also protecting your furnishings and minimizing the risk of any unwanted mishaps.
Begin by thoroughly cleaning the walls, removing any dirt, grease, or residue that could interfere with the paint's adhesion. Use a mild detergent and a clean cloth or sponge to gently scrub the surfaces, paying special attention to any areas that may have accumulated grime or stains.
Next, address any surface imperfections, such as cracks, holes, or uneven textures. Use a high-quality spackle or joint compound to fill in these blemishes, smoothing the surface with a putty knife or sandpaper once dry. This step is crucial, as it will help create a uniform and seamless canvas for your new paint application.
Protecting your floors, furniture, and other surrounding elements is also an essential part of the preparation process. Use drop cloths or plastic sheeting to cover any surfaces that you don't want to be painted, and be sure to remove or cover any light switches, electrical outlets, or other fixtures that could be affected by the painting process.
Tools and materials needed for interior painting
Embarking on an interior painting project requires the right tools and materials to ensure a professional-looking finish. Investing in quality products can make a significant difference in the overall outcome of your project, so it's important to carefully consider your needs and select the appropriate items.
Start by gathering your essential painting tools, such as high-quality paintbrushes, rollers, and paint trays. Choose brushes with synthetic bristles for a smooth application, and select rollers with a nap length that suits the desired finish (e.g., shorter nap for smooth surfaces, longer nap for textured walls). Additionally, consider investing in a paint edger or angled brush to help you achieve crisp, clean lines along baseboards, trim, and corners.
In terms of paint, opt for a reputable brand that is specifically formulated for interior use. Look for paints that offer good coverage, excellent durability, and a smooth, even application. Depending on the specific needs of your project, you may also need to purchase primer, sealers, or specialty paints, such as those designed for high-traffic areas or moisture-prone spaces.
Other essential items to have on hand include painter's tape, drop cloths, a paint scraper or putty knife, sandpaper, and a ladder or step stool to reach high areas. Having all the necessary tools and materials readily available can help streamline the painting process and ensure a professional-looking result.
Step-by-step guide to interior painting
With your preparation complete and your tools and materials at the ready, it's time to embark on the painting process. Follow these step-by-step instructions to ensure a seamless and successful interior painting project.
- Begin by applying painter's tape to any areas you don't want painted, such as baseboards, trim, and around light switches and electrical outlets. This will help you achieve clean, crisp lines and protect the surrounding surfaces.
- Start by painting the trim and edges of the room first, using a high-quality angled brush to achieve a precise and clean finish. Work in small sections, applying the paint in long, even strokes and paying close attention to any corners or tight spaces.
- Once the trim is complete, it's time to tackle the larger wall surfaces. Begin by cutting in the edges with a brush, painting a 2-3 inch border around the perimeter of the room. This will help you achieve a seamless transition between the trim and the main wall areas.
- Use a high-quality paint roller to apply the paint to the larger wall surfaces. Work in sections, applying the paint in overlapping "W" or "M" patterns to ensure even coverage. Be sure to maintain a wet edge, blending the paint as you go to avoid visible lap marks.
- Allow the first coat of paint to dry completely, then apply a second coat for optimal coverage and durability. Pay close attention to any areas that may require additional paint, such as corners or edges, to achieve a uniform and consistent finish.
- Once the final coat of paint has dried, carefully remove the painter's tape, being mindful not to pull up any of the fresh paint. Use a utility knife or razor blade to score the tape before removing it for a clean, crisp line.
- Finish up by cleaning and storing your painting tools properly, ensuring they're ready for your next project.
Tips and tricks for achieving a professional finish
Achieving a professional-looking interior paint job requires attention to detail and a few key techniques. By incorporating these tips and tricks, you can elevate your painting skills and create a flawless, high-quality finish.
One of the most important factors in achieving a smooth, streak-free finish is proper paint application. Maintain a wet edge as you roll the paint onto the walls, blending each section seamlessly into the next. Avoid overloading the roller, as this can lead to drips and uneven coverage. Instead, load the roller just enough to ensure a consistent, even application.
Another crucial step is to pay close attention to your brush and roller technique. Apply the paint in long, even strokes, and avoid going back over the same area too many times, as this can cause the paint to become too thin or uneven. When cutting in around edges and corners, use a high-quality angled brush to achieve a crisp, clean line.
Proper preparation and cleanup are also essential for a professional-looking result. Take the time to thoroughly clean and prepare the surfaces before painting, and be diligent about protecting your floors, furniture, and other surrounding elements. Additionally, be sure to clean your painting tools thoroughly after each use, ensuring they're ready for your next project.
Common interior painting mistakes to avoid
While interior painting may seem like a straightforward task, there are several common mistakes that can derail your project and result in a less-than-satisfactory finish. By being aware of these pitfalls and taking steps to avoid them, you can ensure a successful and stress-free painting experience.
One of the most common mistakes is failing to properly prepare the surfaces before painting. Neglecting to clean, patch, and prime the walls can lead to issues such as poor paint adhesion, uneven coverage, and the appearance of unsightly blemishes. Take the time to thoroughly prepare the surfaces, and you'll be rewarded with a professional-looking result.
Another pitfall to avoid is using low-quality or inappropriate painting tools. Subpar brushes, rollers, and other equipment can result in an uneven application, streaks, and an overall subpar finish. Invest in high-quality tools that are designed for the specific needs of your project, and you'll be able to achieve a much smoother and more consistent result.
Painting in poor lighting conditions is another common mistake that can compromise the quality of your work. Shadows and uneven lighting can make it difficult to see where you've applied the paint, leading to missed spots, overlaps, and an uneven finish. Whenever possible, work in well-lit areas or supplement with additional lighting to ensure optimal visibility.
Adding finishing touches to your freshly painted space
Once you've completed the painting process and allowed the paint to dry thoroughly, it's time to add the finishing touches that will transform your freshly painted space into a true work of art.
Start by removing any painter's tape or masking materials, taking care to avoid pulling up any of the fresh paint. Use a utility knife or razor blade to score the tape before gently peeling it away, ensuring clean, crisp lines along the trim and edges.
Next, consider adding decorative touches that complement your new paint colors and finishes. This could include updating your window treatments, swapping out light fixtures, or adding new artwork or accessories to the walls. These finishing touches can help to tie the room together and create a cohesive, visually appealing aesthetic.
If you've opted for a bold or vibrant paint color, consider incorporating accent pieces or furnishings that echo the same hues. This can help to create a harmonious and visually striking look that showcases the beauty of your new paint job. Alternatively, if you've chosen a more neutral palette, you can introduce pops of color through textiles, rugs, or decorative accents to add depth and visual interest to the space.
Conclusion: Enjoying the transformed look of your space
Congratulations! By following the steps outlined in this comprehensive guide, you've successfully refreshed and revitalized your living spaces with a stunning new interior paint job. From selecting the perfect colors and finishes to mastering the painting techniques, you've transformed your home into a vibrant and inviting oasis that reflects your personal style and preferences.
The benefits of this interior painting project extend far beyond just the aesthetic. By investing in this DIY endeavor, you've not only enhanced the visual appeal of your spaces but also potentially increased the value of your property. Moreover, the sense of accomplishment and pride that comes with completing a successful painting project can be truly rewarding.
As you step back and admire your newly painted rooms, take a moment to appreciate the transformative power of a fresh coat of paint. Whether you opted for serene neutrals, bold accent walls, or a harmonious color palette, your revitalized spaces are sure to inspire and delight. Embrace the rejuvenated ambiance, and enjoy the newfound joy and comfort that your updated interior painting project has brought to your home.